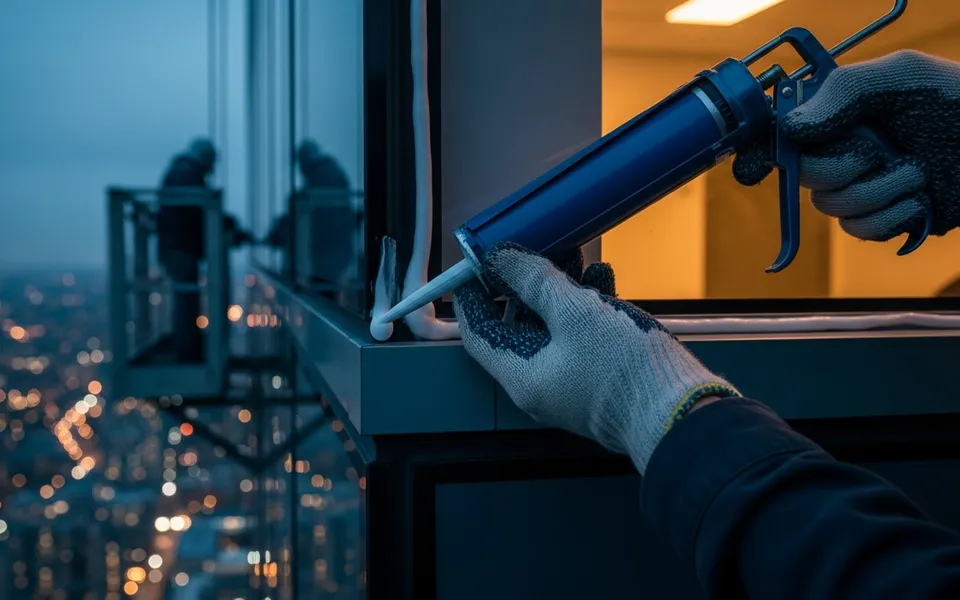
What summer humidity does to high-rise sealants.
Toronto summer humidity drives moisture into curtain-wall joints and accelerates sealant breakdown — paired with winter freeze-thaw, the GTA's annual cycle is among the harshest in North America for sealant longevity.
Quick answer
Toronto summer humidity drives moisture vapor into curtain-wall joints, softening sealants and promoting adhesion failure. When freeze-thaw cycles follow in winter, the same joints expand and contract against already-compromised sealant. UV adds a third stressor. The result: a 10-year design life that GTA buildings rarely reach. Watch for visible cracking, condensation patterns, and drafty units — and schedule re-sealing proactively rather than waiting for leaks.
How summer humidity attacks sealants
Silicone and polyurethane sealants — the commercial grades used on GTA high-rise window perimeters and curtain-wall joints — cure by crosslinking their polymer chains. Once cured, the material is designed to flex with thermal movement and exclude water. What humidity does is introduce a competing dynamic: moisture vapor migrates through the sealant matrix, particularly at the interface between the sealant bead and the substrate.
In high-humidity conditions, water vapor pressure at the joint exterior can push moisture into the adhesive bond — the interface between the sealant and the glass, metal, or concrete it's adhering to. Over time this weakens adhesion without causing the kind of visible crack that gets noticed during a walk-through. The sealant bead looks intact from the exterior but has begun to separate from the substrate. The failure becomes visible later, often as a gap or as interior condensation at the joint.
Toronto's July and August humidity regularly exceeds 70% relative humidity, with dew points that mean outdoor surfaces are at or near saturation for extended periods. That sustained moisture exposure accumulates against sealant joints that were installed in drier conditions and calibrated for average performance — not peak exposure. Buildings with south-facing or southwest-facing exposures (maximum afternoon sun, maximum solar-driven moisture drive) typically show sealant degradation on those elevations first.
The freeze-thaw multiplier
If summer humidity weakens the adhesive bond, winter freeze-thaw cycles exploit it. Concrete, glass, metal framing, and brick all expand and contract at different rates as temperature cycles through the freeze-thaw range (0°C is the critical threshold; Toronto crosses it over 60 times in a typical winter). Sealants are designed to accommodate this movement — that's why commercial sealants are specified with a movement capability rating, typically expressed as a percentage of the joint width.
But a sealant bead that has been compromised by adhesion loss is working harder than it was designed to. Where a sound sealant bead might absorb 25% movement from a 10mm joint without stress, a bead with partial adhesion failure is concentrating movement stress at the remaining bonded sections. The result is accelerated cohesive or adhesive failure — the sealant tears through the middle or pulls away from the substrate — and those failures happen fastest at the joints that were already weakened by summer humidity exposure.
The sequence is consistent enough across GTA buildings that experienced inspectors use it as a diagnostic calendar: look for humidity-driven adhesion weakening during the summer inspection, then expect those same joints to show mechanical failures in the spring assessment after a hard winter. Joints that appear sound in October and fail by April were typically already compromised in August.
Visible signs of sealant failure: what property managers see first
The most obvious sign is visible cracking — a longitudinal crack running along the length of the sealant bead, or a separation at one or both interfaces where the sealant meets the substrate. In silicone sealants, cracking often appears as a white or grey chalking on the surface before the structural crack develops; this chalking is UV degradation of the surface layer and is a reliable early indicator that the material is aging.
Less obvious but equally diagnostic are interior symptoms. Condensation at window perimeters — particularly condensation that appears on the wall surface or interior sill rather than the glass face — indicates air and moisture reaching the interior assembly through a failed joint. Residents in perimeter units often report this as 'drafty windows' or 'cold spots on the wall.' The sensation is real: a failed sealant bead admits outdoor air infiltration as well as moisture, and the thermal effect is noticeable before the water damage becomes visible.
Water staining on the interior wall below a window line is a later-stage symptom — by the time staining appears, water has been entering for long enough to saturate the wall assembly and show through the interior finish. That repair is significantly more expensive than re-sealing the exterior joint would have been. For property managers, the practical takeaway is to treat resident complaints about drafts or condensation at window perimeters as early sealant failure signals, not insulation or window unit issues.
The 10-year design life — and why GTA buildings rarely make it
Commercial-grade silicone sealants used on high-rise curtain walls are typically rated for a 20-year service life in moderate climates and carry a 10-year design life under standard use conditions. Neither number reflects GTA conditions: the combination of high summer humidity, freeze-thaw cycling (Toronto averages over 60 freeze-thaw cycles per winter), UV exposure on south and west elevations, and the thermal movement of buildings with significant glazing ratios puts GTA sealants under load that shortens their useful life substantially.
In practice, GTA property managers should treat 8 to 12 years as the realistic re-sealing cycle for buildings with standard commercial sealant installations, and 6 to 8 years for buildings with known exposure problems (large glazed areas, high-traffic elevations, buildings where original sealant installation quality is uncertain). The original installation quality matters enormously — a sealant bead installed without proper joint preparation, at the wrong width-to-depth ratio, or in conditions outside the product's application temperature window will fail earlier than the design life regardless of climate.
Buildings that haven't been re-sealed since construction and are approaching the 10-year mark warrant a formal sealant assessment — not a visual walk-through from grade, but a close-up inspection with swing stage or rope access where the technician can probe the joint for adhesion loss and flexibility. The cost of a sealant assessment is trivial compared to the cost of remediating water damage that entered through a failed joint in an uninspected building.
Re-sealing on a schedule, not on a crisis
The most expensive way to manage sealants is reactively — waiting until there's active water infiltration, interior damage, or a resident complaint that escalates to a board issue. By that point, the scope has expanded from re-sealing a joint to repairing whatever the water damaged on its way through. Proactive re-sealing at or before end-of-life is almost always less expensive than the combination of emergency sealant work and interior remediation.
A proactive approach starts with the inspection rhythm described in our building inspection checklist — twice-yearly walk-throughs that document sealant condition and catch emerging failures before they advance. The spring inspection identifies what the winter damaged; the fall inspection identifies what needs to be addressed before the next freeze-thaw cycle begins. Sealant work scheduled in the fall inspection catches joints at their most vulnerable point in the cycle, before winter loading.
For buildings entering the 8-to-12-year window since original installation or last major re-seal, the Caulking and Sealants program provides a complete scope: close-up assessment with photo documentation, prioritized joint inventory, and re-sealing with commercial-grade products. Every completed scope includes before/after photo documentation formatted for board reporting. Contact us to schedule a sealant assessment.
Frequently asked questions
When is the best time of year to re-seal a GTA high-rise?
Late spring through early fall — typically May through October — is the practical window for exterior sealant work in the GTA. Commercial sealants have application temperature minimums (typically 5°C or higher, though product specs vary) and require dry substrates for proper adhesion. Summer conditions are ideal from a temperature standpoint, but extremely high-humidity days should be avoided for application. The fall inspection (September–October) is a good trigger for scheduling sealant work that needs to be completed before winter. See the Caulking and Sealants service page for more detail on scheduling and scope.
Can residents' windows be the source of sealant failure rather than the curtain wall?
Yes. On buildings where unit owners have replaced windows independently of the building's common element envelope, the perimeter seal at the new window may not match the depth and geometry of the original joint — and the installation quality is often lower than a commercial application. Window perimeter sealant on unit-replaced windows should be included in the inspection scope, with findings noted as common-element or unit-level responsibility depending on the corporation's declaration.
Is sealant failure always visible from the ground?
No, and this is the core limitation of a grade-level walk-through as the only inspection method. Surface chalking is sometimes visible from the ground on lower floors, and large gaps or displaced sealant beads may be visible with binoculars. But adhesion failure at the sealant-substrate interface — the failure mode driven by humidity — is invisible from grade. Detecting it requires probing the joint at close range, which means swing stage, rope access, or boom lift access. For buildings approaching re-seal age, a close-up inspection is worth the access cost.
Schedule a sealant assessment before winter.
Tell us about your building. Full quote in 48 hours, guaranteed.
Serving Toronto, Mississauga, Brampton, Vaughan, Markham, Richmond Hill and the entire GTA.